
Setup and catalog
Products
Choose a network protocol, set the patient price and requirements, and publish the product.
Questions people ask
Can I create a product from scratch?
Not a prescription product: those start from a network protocol. For a consult with no medication, use a visit on Visits, or a line item on Orders → Create order.
Can I create and update categories myself?
Yes. Click Categories (tags icon, top right), then Add Category.
If I change a price, what happens to open orders?
Open orders and existing subscribers keep their price. New checkouts and new subscriptions use the new one.
Can I update several products from a spreadsheet?
Yes. A Client Admin can use Smart upload to update matched existing products from the provider network. Preview and select the changes before applying them.
Does a spreadsheet preview apply every change?
No. Review the proposed changes, clear the Use checkboxes for rows you do not want, then click Apply N rows. See the spreadsheet steps.
Where to find it
Sidebar → Products (/products).
Access: Client Admin creates and prices products. Client Staff can view products, copy links and send offers. Products is not available on Review Only accounts.
What you can do here
- Add a product from a network protocol
- Change a price, or hide or pause a product
- Update products in bulk from a spreadsheet
- Require a visit or labs first, or stop selling in a state
- Sell a product as a subscription
- Sell each dose or supply length separately
- Bundle products into a package
- Share a product with a patient
- Publish a storefront page for your products
Add a product from a network protocol
Use this to sell a protocol your network enabled.
Three layers: a protocol is your network's clinical template. A product is your copy, with your name and price. A Formulary item is a pharmacy's medication; pairing tells providers which to send. New protocols and doses come from your network.
Start
Click Create (the + button at the top right of the table), then Product.
Pick the protocol
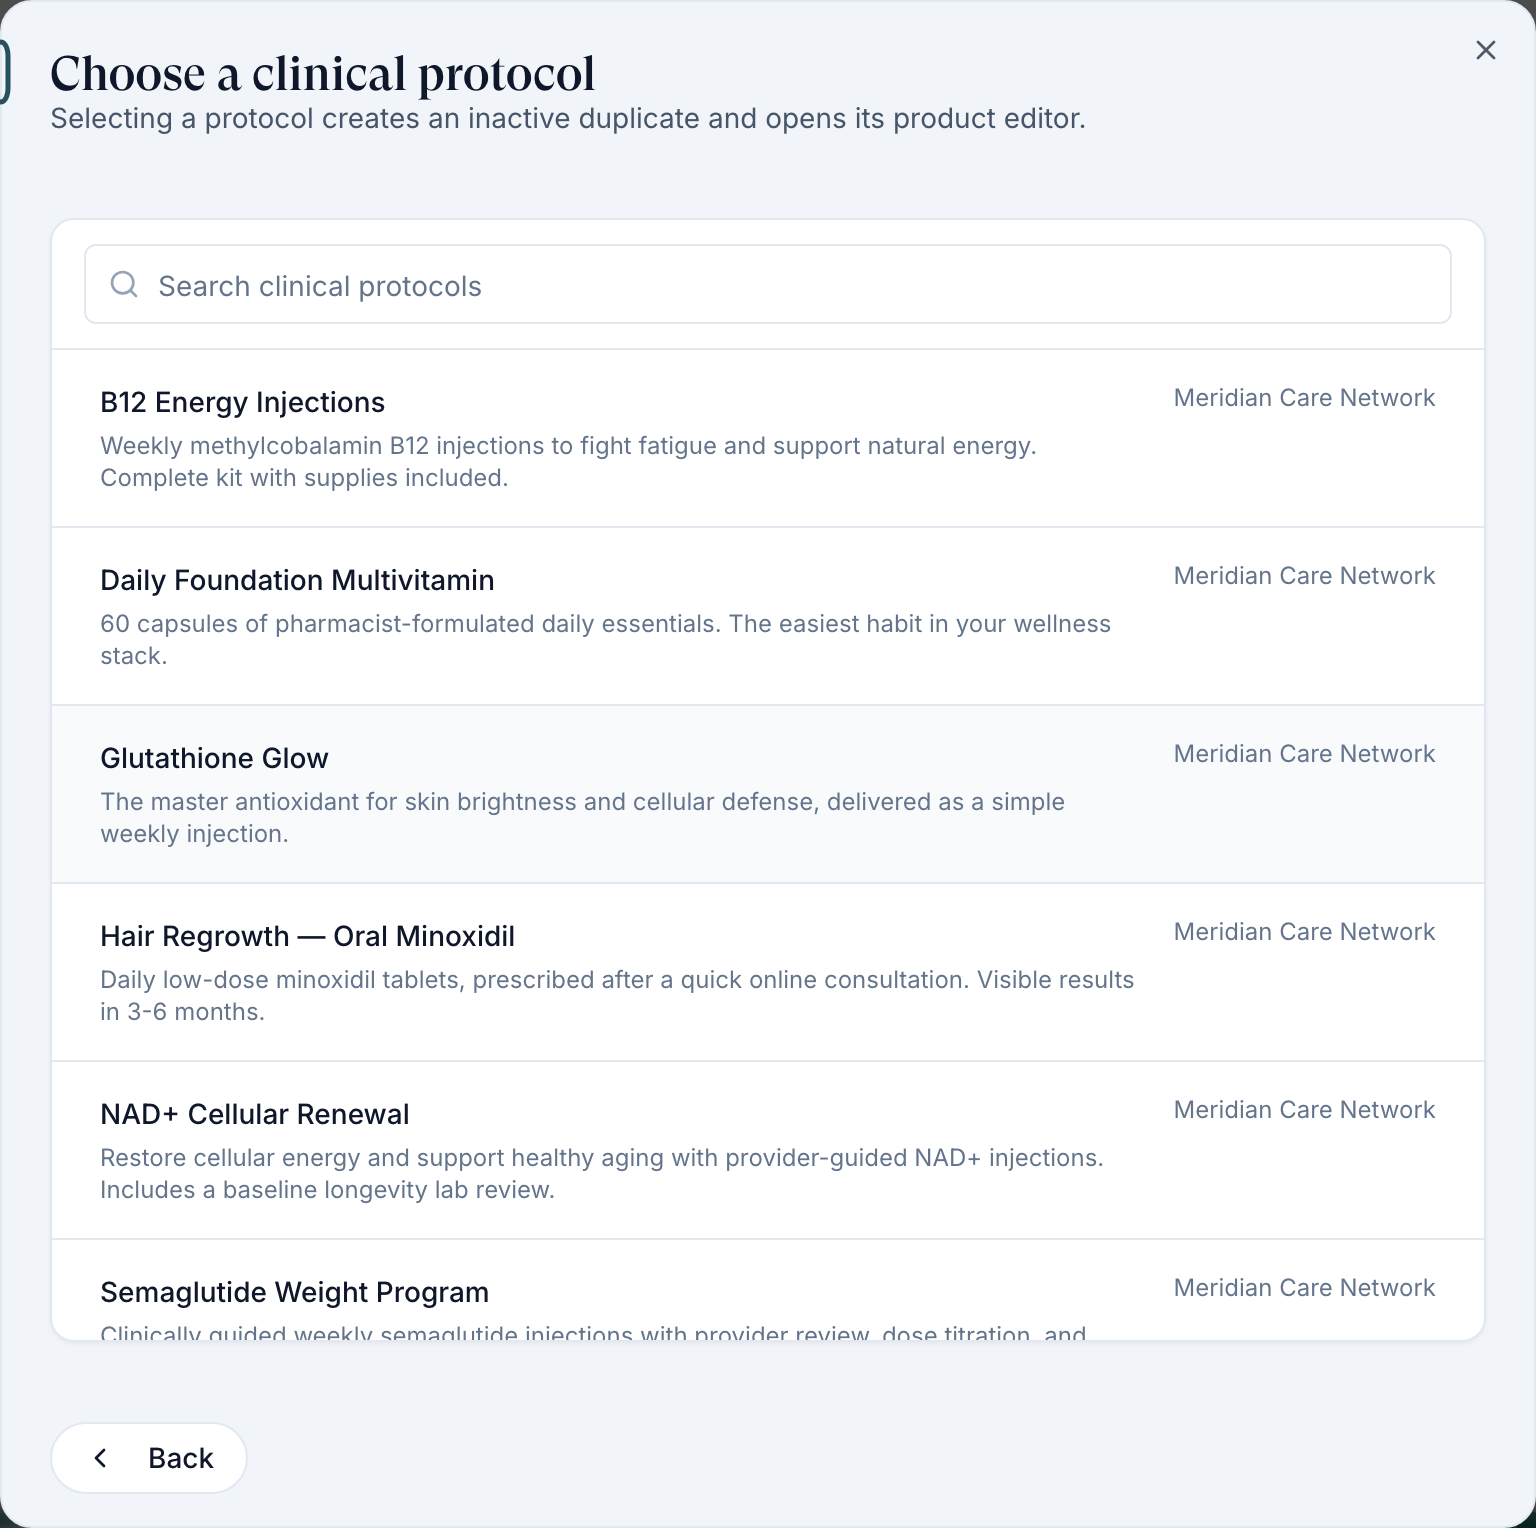
Under Choose a clinical protocol, click one. This creates an inactive copy straight away and opens Edit product.
Write what patients see
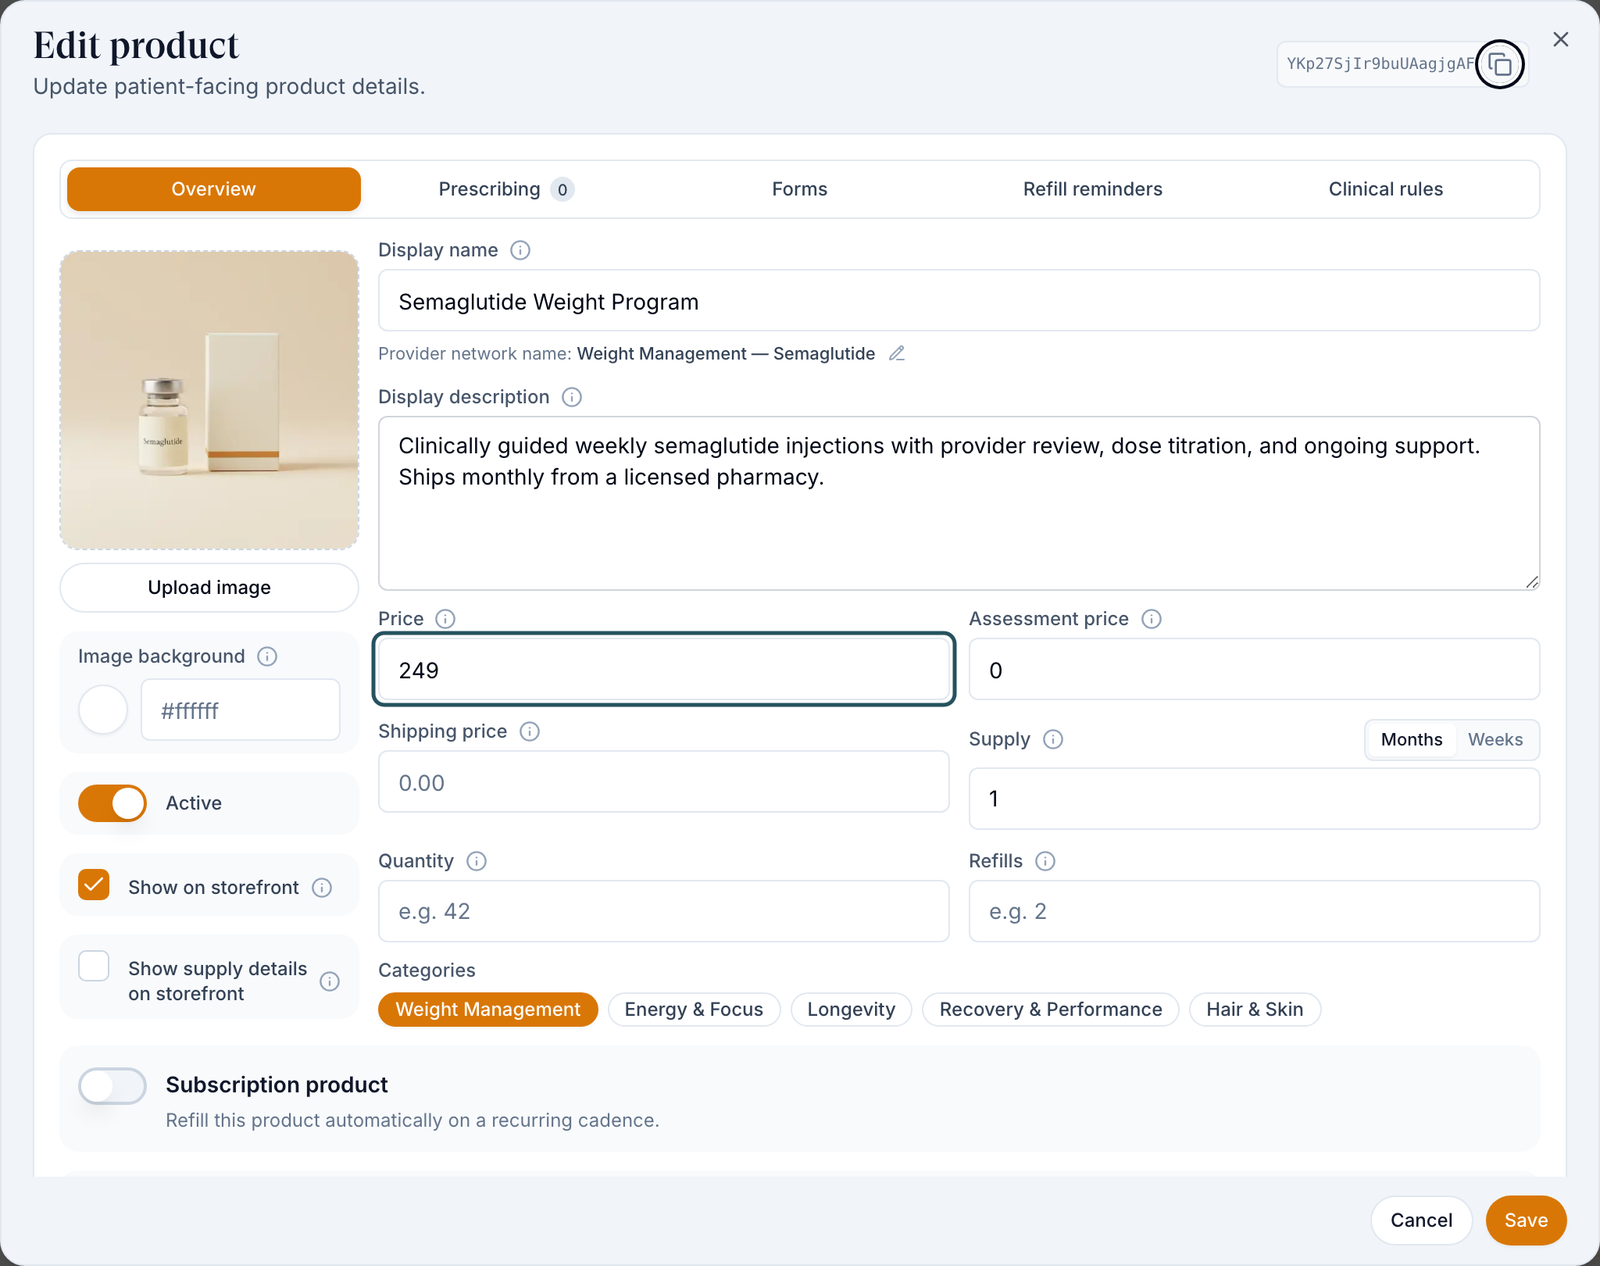
On Overview, set Display name, Display description, Upload image and Categories.
Price it
Fill Price, Assessment price (the visit; not refunded on denial) and Shipping price. Your cost is on Formulary.
Turn it on
Switch on Active, tick Show on storefront, then click Save.
Check the result: the row has no Inactive line under its name. Next, pair it on the Paired formulary column (how).
Access: Client Admin.
Change a price, or hide or pause a product
Use this to reprice, hide or stop a product.
Open it
Row menu ⋯ → Edit details, or click Config view (sliders icon, right of the filters) to edit Price and Storefront for many rows.
Hide or pause
Untick Show on storefront (links still work), or row menu → Deactivate to stop all sales.
Price refills by rule
Open Clinical rules if your network added refill rules. The network controls the rules; you control each Refill price.
- Enter a rule’s Refill price, or leave it blank to use the Overview price.
- Find a rule with Search rules or the Telehealth, Forms and Labs filters.
- No rules yet means later purchases use the Overview price.
- Rule prices do not apply while the product is a subscription.
Check the result: the row shows Hidden from storefront or Inactive.
Access: Client Admin.
Update products in bulk from a spreadsheet
Use this to update names, prices or categories on matched existing products from your provider network. This flow updates existing products; it does not create new ones.
Prepare product rows
On Products, open each product’s row menu (⋯) and choose Copy ID. Put that value in the client product id column alongside your changes, such as display name or customer price.
Open Smart upload
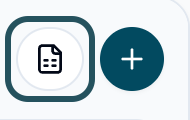
Click Smart upload (the spreadsheet icon beside Create, the + button).
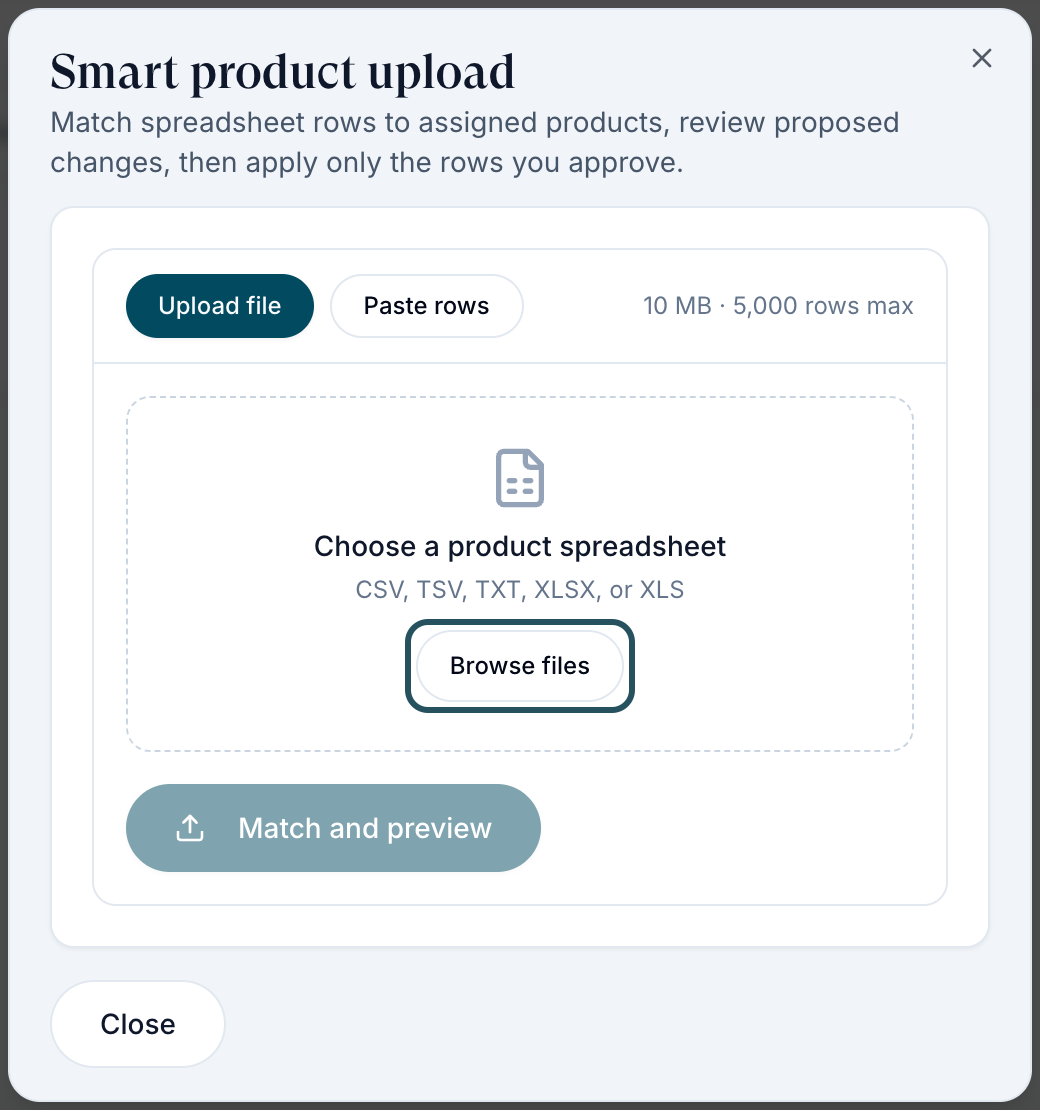
On Upload file, click Browse files and choose a CSV. Or select Paste rows and paste the header and data rows.
Match and review
Click Match and preview. Wait for the preview, then check the matched products and proposed changes.
Select rows
Clear the Use checkbox for each row you do not want to update.
Apply selected rows
Click Apply N rows, where the number shows your selected rows; for one row, the button reads Apply 1 row.
Check update counts
Wait for Import complete, then review the updated and skipped counts. A preview alone does not apply changes to your products.
Access: Client Admin.
Require a visit or labs first, or stop selling in a state
Use this when a product needs a live assessment or lab results first.
Open the product
Row menu → Edit details, Overview tab.
Require a visit
Switch on Requires sync visit and set Require sync visit for to All, First-time patients or First purchase.
Require labs
Switch on Requires labs and tick the Required lab options. Lab First Consultation charges for the lab first and the product only after approval.
Block states
Click Unavailable states and pick the states you can't serve, then Save.
Check the result: the row shows the video or flask icon (Telehealth visit required, Labs required).
Access: Client Admin. Required by the provider network or Lab rules set by your network means only the network can change it.
Sell a product as a subscription
Use this to bill on a schedule, for example monthly GLP-1.
Switch it on
In Edit details, turn on Subscription product and set Every and Period.
Choose checkout and billing
Tick One-time purchase, Subscription or both, decide on Charge the saved card automatically, then Save. With it off, Each renewal appears in Subscriptions for the patient to pay. With it on, Each renewal is charged to the card the patient saved at checkout.
Check the result: checkout offers the subscription. Manage enrolments on Subscriptions.
Access: Client Admin.
Sell each dose or supply length separately
Use this for 1-month vs 3-month, or 2.5 mg vs 5 mg.
Duplicate
Row menu → Duplicate. The copy keeps the protocol and its forms.
Make it distinct
Rename it, set its Price, Supply (Months or Weeks) and Quantity, and pair the exact strength on Paired formulary.
Check the result: both rows show their own pairing.
Access: Client Admin.
Bundle products into a package
Use this to sell several items, labs and visits included, for one price.
Start
Click Create → Package.
Pick the items
Under Choose products for the package, tick at least two.
Create and price
Click Create package. It starts inactive at the items' total; in the editor set its price, switch on Active and Save.
Check the result: the toast reads Package created. Finish its details before publishing.
Access: Client Admin. Each item must be ready to sell.
Share a product with a patient
Use this to send an offer, or link from an email or your website.
Copy a link
Click the link icon on the row, then Copy next to Product-first (pay first), Assessment-first (forms, then pay for the visit only) or Intake-first (forms, then pay for the product).
Or send an offer
Row menu → Send to Patient, pick the patient and send.
Check the result: the toast confirms the copy or send. Links only work while the product is active.
Access: Client Admin and Client Staff.
Publish a storefront page for your products
Use this to give patients one public page that lists your products, with your branding.
Open the menu
Click Storefront at the top right of the table. Wait for the settings to load.
Preview it
Click Preview storefront to see the page in a new tab. Only you can see it until you publish.
Edit the page
Click Edit storefront. Studio has three panes: Chat (Design with AI), Preview and Sections.
- To change one section, select it in the preview or Sections panel first. Type your request in Describe a change, then click Send. Stop cancels a run.
- Add section adds a block: Products, Text, About us, Banner, How it works, FAQ or Image and text.
- For the selected section, use Move up, Move down, Duplicate, Hide section or Delete section.
- Check Desktop, Tablet and Mobile widths. Use Undo and Redo to step back or forward.
- Start over from your brand resets the page to the default design.
Set brand and products
On Settings, the Brand tab sets Logo, Accent colour, Theme and Header font; leave a field empty to use your brand settings. The Products tab sets which products show and the checkout each opens. Click Save changes.
Publish the design
In Studio, click Publish changes. Save draft only keeps your work; visitors see it after you publish.
Turn the storefront on
Reopen Storefront, switch on Published, then click Copy link.
Check the result: the toast reads Storefront published and the menu says Anyone with the link can browse it. If Published is still off, the toast reads Changes published. Turn the storefront on to show it to visitors. Saving a draft shows Draft saved. Keep at least one Products section so visitors can buy.
Access: Client Admin.
Statuses you'll see here
| Status | What it means | Who acts next | What you do |
|---|---|---|---|
| Inactive | Off sale; links don't work | You | Row menu → Activate |
| Hidden from storefront | Active; links still work | You | Tick Show on storefront |
| Red ! by the name | Set up a payment processor before patients can purchase this product. | You | Connect a processor on Billing |
| Needs pairing | No pharmacy medication paired | You | Click it and pair |
| Storefront Published off | Only you can preview it. | You | Switch on Published |
| Studio Live | The storefront is on and the page matches what visitors see | Nobody | Nothing |
| Studio Unpublished changes | Your design differs from the live page | You | Click Publish changes |
| Studio Unsaved changes | You have edited the design since it was last saved, and it otherwise matches the live page | You | Click Publish changes |
| Studio Offline | The storefront's Published switch is off | You | Switch on Published |
| Storefront section Hidden from the storefront. | You switched the section off | You | Click Show section in the Sections panel |
What can go wrong
| What you see | Why | Fix |
|---|---|---|
| A (Copy 1) row you didn't mean to make | Clicking a protocol creates the copy at once; Cancel doesn't remove it. | Leave it Inactive, or row menu → Delete this duplicate. |
| Active but patients can't find it | Show on storefront is off, it has no Price, or the patient's state is in Unavailable states. | Fix that field. Price filter → No price finds unpriced rows. |
| The protocol or dose you want isn't in the list | Your network hasn't enabled it for you. | Ask your network; it then appears under Create → Product. |
| Approved labs required when saving | The product needs labs but none are ticked. | Tick a Required lab options entry (see Labs). |
| Failed to send on Send to Patient | An offer already waits for that patient, or no processor is set up. | Ask the patient to sign in; connect a processor. |
| Storefront settings could not be loaded or The storefront could not be loaded. | The request failed | Click the retry button, or close and reopen Storefront. |
| Unable to find this upload. or Unable to check this upload's progress. Retrying automatically. | The page can't read the progress of a bulk import. The first means the import can't be found; the second retries on its own. | Refresh the page to see what was imported. |
| Unable to export the complete formulary. Please try again. | The complete list could not be fetched for Export CSV. | Click Export CSV again. |
| The studio could not finish that change. Try again. | The AI request on Send failed | Try again, or edit the section by hand. |
| Keep at least one products section so visitors can buy. | You tried to delete the last Products section | Add another Products section first, or keep this one. |
Related
Was this helpful?